Prerequisites
Before starting this tutorial, make sure you have Ruby and RubyGems installed on your system. This is fairly straightforward, but differs depending on which operating system you use.
By following this tutorial, you will create a simple Spree project called mystore. Before you can start building the application, you need to make sure that you have Rails itself installed.
To run Spree 2.3 you need the latest Rails version, 4.1.2.
Installing Rails
In most cases, the easiest way to install Rails is to take advantage of RubyGems:
$ gem install rails -v 4.1.2
Installing Bundler
Bundler is the current standard for maintaining Ruby gem dependencies. It is recommended that you have a decent working knowledge of Bundler and how it used within Rails before attempting to install Spree. You can install Bundler using the following command:
$ gem install bundler
Installing Image Magick
Spree also uses the ImageMagick library for manipulating images. Using this library allows for automatic resizing of product images and the creation of product image thumbnails. ImageMagick is not a Rubygem and it can be a bit tricky to install. There are, however, several excellent sources of information on the Web for how to install it. A basic Google search should help you if you get stuck.
If you are using OSX, a recommended approach is to install ImageMagick using Homebrew. This can be done with the following command:
$ brew install imagemagick
If you are using Unix or Windows check out Imagemagick.org for more detailed instructions on how to setup ImageMagick for your particular system.
Installing Spree
The easiest way to get Spree setup is by installing the spree_cmd gem. This can be done with the following command:
$ gem install spree_cmd
Creating a New Spree Project
The distribution of Spree as a Rubygem allows it to be used in a new Rails project or added to an existing Rails project. This guide will assume you are creating a brand new store and will walk you through the process, starting with the creation of a new Rails application.
Creating the Rails Application
Let’s start by creating a standard Rails application using the following command:
$ rails _4.1.2_ new mystore
Adding Spree to Your Rails Application
Now that we have a basic Rails application we can add Spree to it. This approach would also work with existing Rails applications that have been around for a long time (assuming they are using the correct version of Rails.)
After you create the store application, switch to its folder to continue work directly in that application:
$ cd mystore
Now let’s add Spree to our Rails application:
$ spree install --auto-accept
Note that this command will add the Spree dependencies to your gemfile. If you are using a custom build of Spree, or are bundling Spree from Github, you may want to use the rails generator provided by the spree gem instead:
bash
$ rails generate spree:install
This will run the spree generator using the version of Spree you have defined in your Gemfile. Running spree install with a custom source or build will generate an error as your Gemfile will be amended to require different versions of Spree.
Hello, Spree!
You now have a functional Spree application after running only a few commands! To see it, you need to start a web server on your development machine. You can do this by running another command:
$ rails server
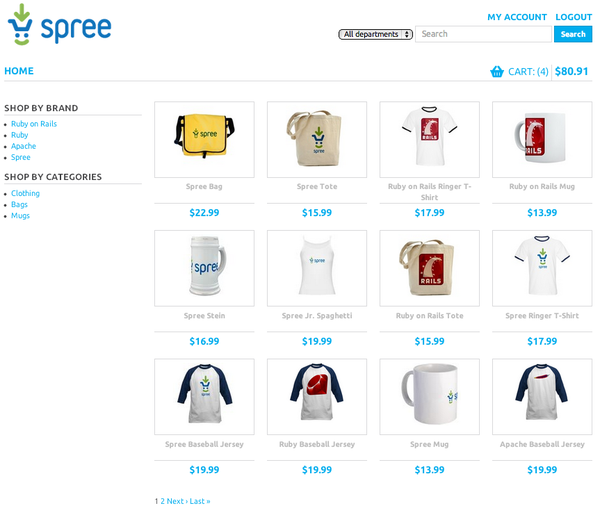
This will fire up an instance of the Webrick web server by default (Spree can also use several other web servers). To see your application in action, open a browser window and navigate to http://localhost:3000. You should see the Spree default home page:
To stop the web server, hit Ctrl-C in the terminal window where it’s running. In development mode, Spree does not generally require you to stop the server; changes you make in files will be automatically picked up by the server.
Logging Into the Backend
The next thing you’ll probably want to do is to log into the admin interface. Use your browser window to navigate to http://localhost:3000/admin. You can login with the username [email protected] and password spree123.
If you elected not to use the --auto-accept option when you added Spree to your Rails app, and did not install the seed data, the admin user will not yet exist in your database. You can run a simple rake task to create a new admin user.
bash
$ rake spree_auth:admin:create
Upon successful authentication, you should see the admin screen:

Feel free to explore some of the backend features that Spree has to offer and to verify that your installation is working properly.
Wrapping Up
If you’ve followed the steps described in this tutorial, you should now have a fully functional Spree application up and running.
This tutorial is part of a series. The next tutorial in this series is the Extensions Tutorial.