Introduction
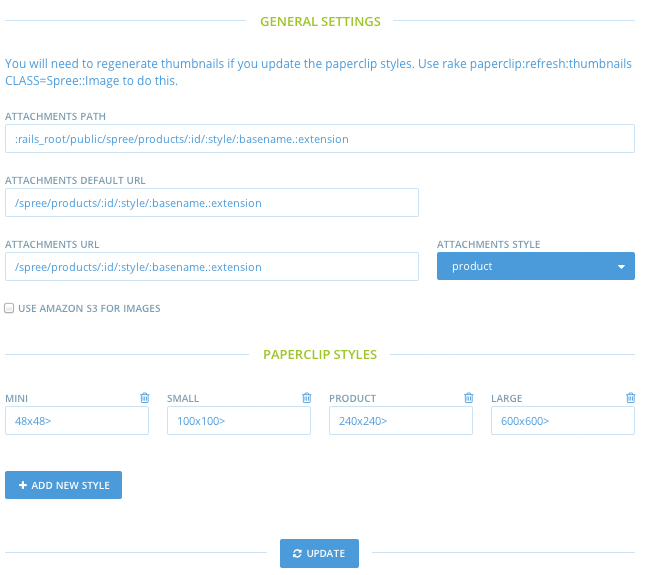
The Image Settings section of the Admin Interface’s Configuration panel is where you specify all of the options that relate to your store’s product and variant images. To reach this section, go to your store’s Admin Interface, click “Configuration”, and click “Image Settings”.
Attachments Settings
There are several image attachment-related settings that you can configure:
- Attachments Path - This is the path to the directory where images you upload to your site will be stored.
- Attachments Default URL - Use this path to manage the format of the URL your store uses for products that are missing their images.
- Attachments URL - This establishes the address that the Spree application will display to site visitors as the path of the images in your store.
- Attachments Style - Select the image style you want displayed on a product page by default. An image style relates to an image that is resized from its original uploaded file, per the settings you input for each style.
Paperclip Styles
There are four different default image styles that you can use for your store. Any time you upload an image for a product, the Spree site will automatically create all four versions of the image and store them for you to retrieve later.
Changing the size settings for images will not cause the images you have uploaded previously to be updated to the new size. For that, you will need to either delete and re-upload your existing images, or run a command to have them all re-processed. This has to be done at a command line. If you’re interested in this functionality, have your development team review the developer documents on products.
The four styles, and their default settings, are as follows:
| Style | Default Setting |
|---|---|
| Mini | 48x48> |
| Small | 100x100> |
| Product | 240x240> |
| Large | 600x600> |
Adding Paperclip Styles
You can also create your own image styles, by clicking the “Add New Style” button.
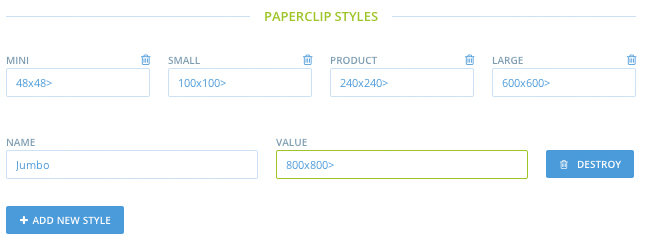
You’ll just need to add a name and a value (size) for each.
Removing Paperclip Styles
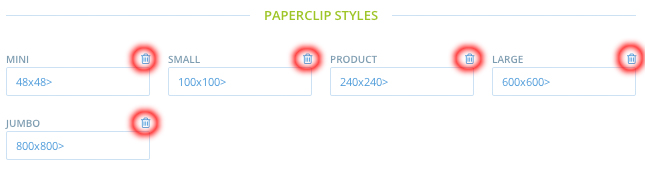
To delete a Paperclip style, just click the “Destroy” icon above its size setting.
If you are in the midst of adding a new style and change your mind, you can just click the “Destroy” button to the right of its “Value” field to cancel the creation.
Amazon S3
As an alternative to storing the images directly on your site’s server, many store owners choose to use Amazon’s Simple Storage Service to serve their images. In that case, just check the “Use Amazon S3 For Images” checkbox to expose several Image Setting options specific to that service.
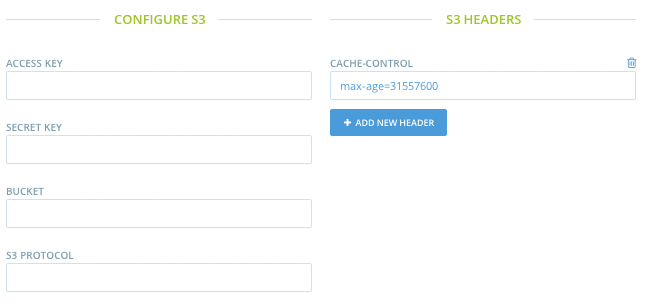
Here’s what Spree asks for when you check that box:
- Access Key and Secret Key - Provided by Amazon to authenticate requests to its services.
- Bucket - Files are stored on Amazon S3 in virtual bins, or “buckets”. You’ll have to declare which bucket you want to store your Spree images in.
- S3 Protocol - Should either be HTTP if you’re using HTTP for your site, or HTTPS if you’re using HTTPS.
- Cache Control - This is an Amazon S3 Header. Explaining its use is beyond the scope of this guide, but you can read more about the Cache Control header.
If you don’t already have an account on Amazon, you will need to sign up in order to be able to use Amazon S3 for images. To make this work, you will need to find the access keys for your account on Amazon. To do this, sign in to Amazon, go to http://aws.amazon.com/s3/ click “My Account/Credentials” at the top right, then click “Security Credentials” from that menu. On this screen, you’ll see a section called “Accces Keys”.
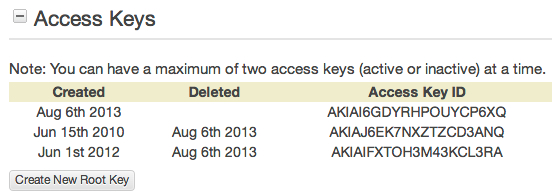
Click “Create New Root Key” in this area to create a new key. This will prompt you to download a file which contains the access key, and the secret key which you will need to put into Spree.
On Amazon’s site, you will need to also create a “bucket” which Spree will put all its uploaded photos into. To do this, go to https://console.aws.amazon.com/console/home, click “Services” at the top left of the screen, then click “S3”. To create the bucket, click “Create Bucket”, enter a unique name for your bucket and then click “Create”.
Enter the Access Key, Secret Key and Bucket name into Spree, and you should be good to go.
You can also add your own Amazon S3 Headers by clicking the “Add New Header” button. Adding and removing S3 headers works the same way as adding and removing Paperclip styles.